How to Scrapbook: A Beginner's Guide
23 January 2023
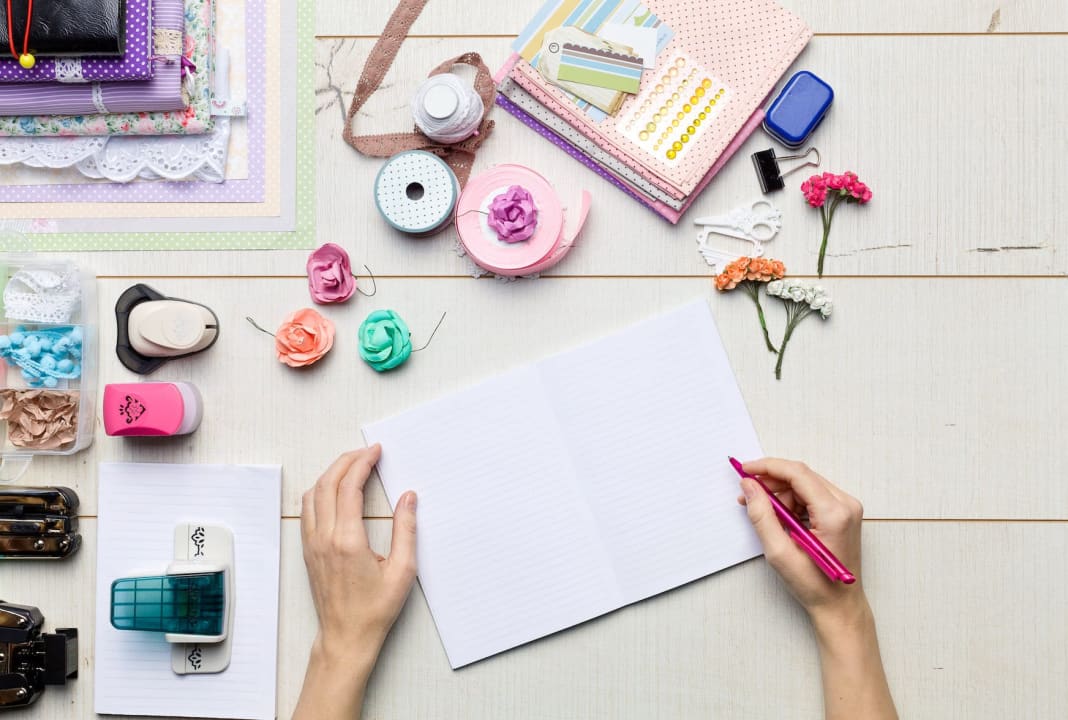
Scrapbooking is a great pastime with plenty of benefits. It’s restful and calming as well as creative and fun!
Maybe you want to create a scrapbook on a specific theme - like a crafted photo-album as a gift for family members - or perhaps you just want a more artistic version of a diary or journal.
Whatever you want to achieve, be sure to follow the below B&M guide on how to scrapbook. We’ll explain how to plan, prepare for and create scrapbook pages of which you can be proud for years to come.
Step 1: Choose Your Theme and Style
It’s important to pick a subject and a look for your scrapbook that reflects your tastes and interests. This will keep you coming back and adding to it regularly with a sense of excitement and focus.
There are no rules here! Whether you want to go for a moody and sleek black and white colour palette, rustic neutrals, pastels, neons or anything besides, simply make sure to stick to your chosen theme throughout.
B&M Top Tip: Some scrapbook ideas and possible themes for beginners include:
- Creative experiments
- Dream journal
- Future plans / motivation
- Family album
- Holidays
- Fashion design or personal styling
- Dream wedding or event planning
- Interior design
- Favourite foods and recipes
Step 2: Collect Your Basic Supplies
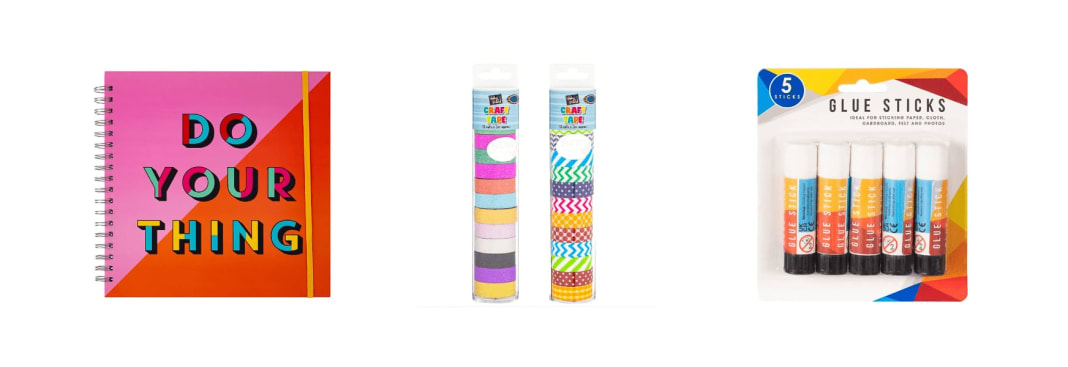
The scrapbook you choose needs to be sturdy and filled with plenty of thick, strong paper. It should also be big enough for your purposes. After all, it’s soon going to be filled with all kinds of materials, and it needs to be able to hold everything.
After this, however, anything goes! Our recommended list of scrapbooking equipment and materials is as follows:
- Your favourite photos and pictures
- Coloured papers / patterned papers matching the orientation of your book (or smaller)
- Double sided tape and/or pretty patterned washi tape
- Acid-free adhesives (glues containing acids can damage or age your pictures)
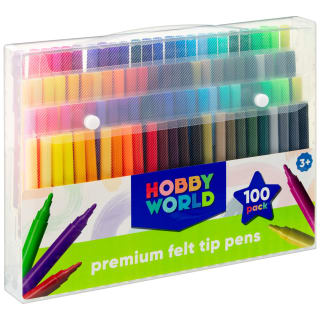
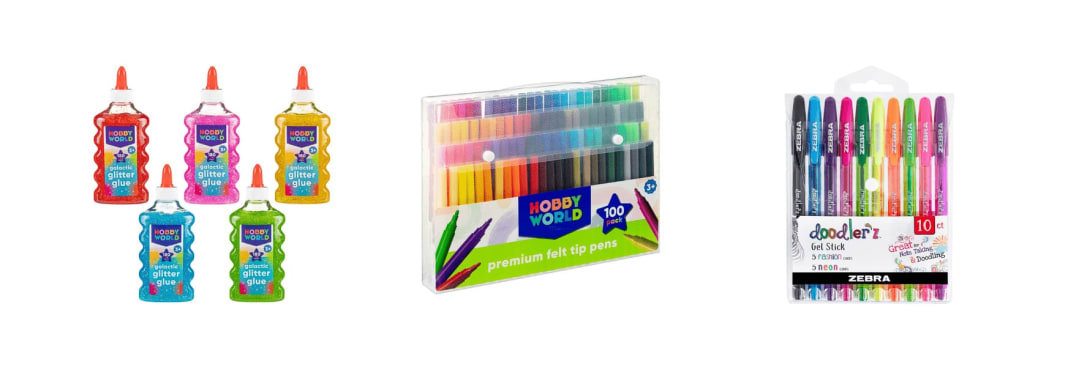
- Coloured pencils and felt tips or gel pens
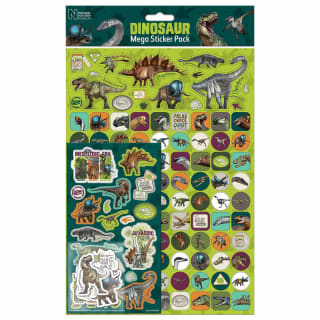
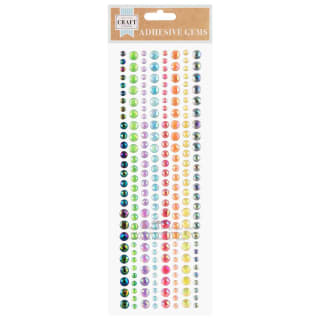
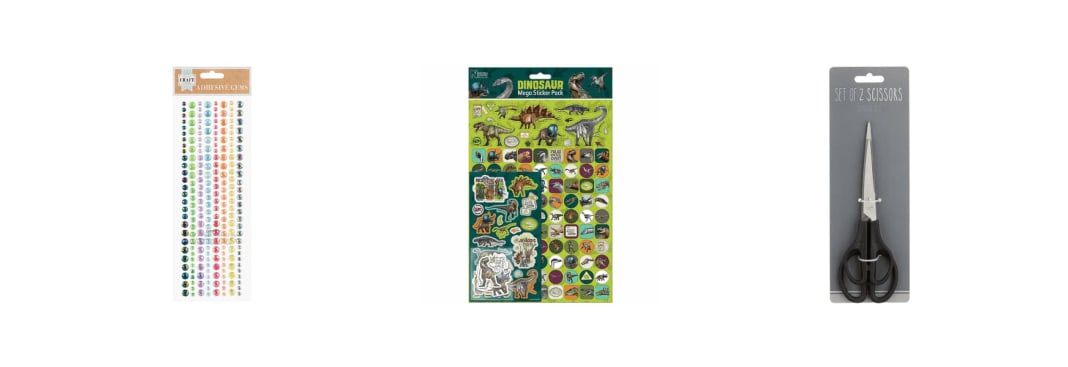
- Accessories such as stickers or gems
- A precision paper trimmer or good scissors
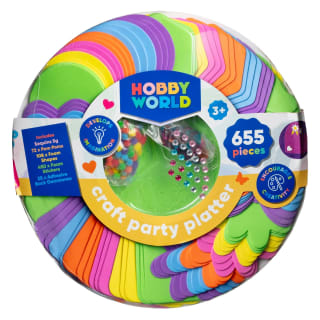
B&M Top Tip: If you want to prompt a little creative inspiration, why not invest in a fully-stocked craft kit? These great sets contain all kinds of materials that are bound to give you fun new ideas.
Step 3: Plan Your Layout Page by Page
It’s a very good idea to plan your scrapbook page layout in advance - so that everything fits and you definitely have enough space for all of your materials. Make sure it’s nice and organised. This can be a very calming task on its own.
Your first step should be choosing your photos and any other key items you would like to add to your book. Then, think about how every section will be arranged. Why not make a basic “scrapbook sketch” for each page so that you can visualise where everything will go?
We recommend that each page should have a “focal point” - that is, a main image or item that the reader will look at first before exploring everything around it.
It’s often best to start with your focal points when planning your pages, then choose accessories and details that go well with each one. Make sure nothing is overcrowded!
B&M Top Tip: Try and ask yourself these questions to achieve the best scrapbook plan: How will your book look when you go back through it? Will each page have its own theme? Will there be different sections, like chapters (and do you need a kind of “contents” page)?
Step 4: Get Started
Only start your scrapbook when you feel ready and you’re confident that everything is well-planned.
Sticking in your very first scrapbook papers, pictures and materials can be very exciting, but make sure you keep to your plan! Think everything through carefully and enjoy the process. Don’t forget to stop and admire each page as you finish it.
B&M Top Tip: Be sure to leave your completed pages open to dry after you’ve finished them. If you don’t, they may stick together and their contents might become damaged!
Step 5: Protect Your Work
If you aren’t careful, the pages of your scrapbook may rub together and displace certain materials or transfer colour into places you don’t want it.
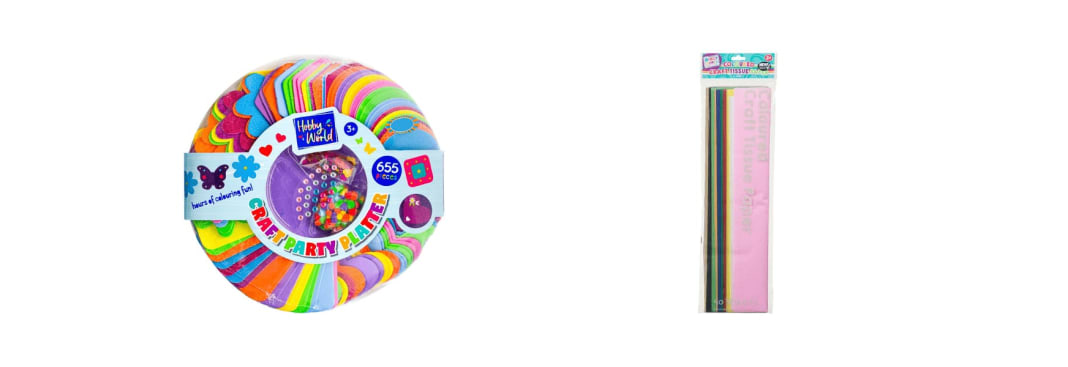
To make sure that your precious work doesn’t get damaged, place a sheet of tissue paper between each dry page, or use other page protectors such as dividers.
B&M Top Tip: It’s a very good idea to use a “fixative” spray to make sure that all of your items are firmly set on the page and won’t fall out of the book. You can find this in almost any art shop.
For a project that is fun, creative and calming, scrapbooking is always top of the list. Take a look at B&M’s range of Arts & Crafts equipment and materials for endless design inspiration.
Do you have any scrapbooking tips - or have you created something which you’re really proud of? Share suggestions and pictures with the B&M Community via Twitter, Facebook or Instagram.


