How to Lay Decking: B&M's Step-By-Step Guide
18 April 2019
If your outside space needs an upgrade, you may be considering installing decking – the ultimate open-air chillout spot. Decking is back in a big way at the moment, and while it may look like an undertaking to install it yourself, it’s deceptively simple to put together.
Of course, exactly how easy it will be depends on the type of surface you’re planning to build it on. Here, the DIY specialists at B&M will not only explain, step-by-step, how to build decking, but we’ll also let you know how to lay decking on grass, soil, concrete and even on uneven ground. First, let’s look at the tools you’ll need.
Tools and Materials for Building Decking

To build decking, you will need:
- Workbench
- Clamps
- Set square
- Spirit level
- Pencil
- Tape measure
- Handsaw
- Handheld circular saw (optional)
- Hammer
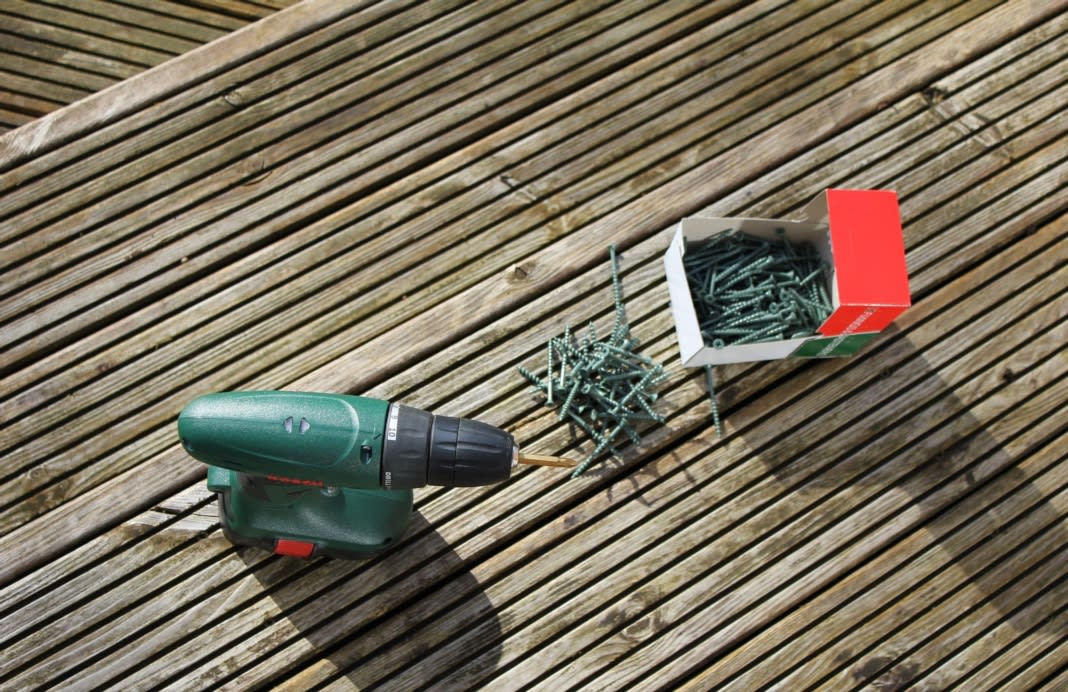
- Handheld electric drill with 7mm masonry bit, 8mm wood bit, countersink bit and screwdriver bit
- 7mm wall plugs
- Flat square washers (galvanised steel or plastic)
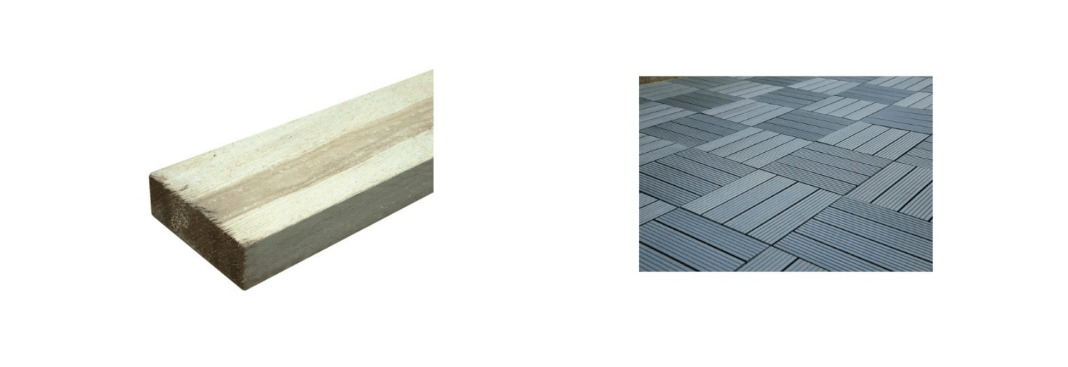
- B&M Decking Boards OR composite decking tiles
- B&M Decking Joists
- 64mm decking screws
- 100mm timber drive screws
- 150mm timber drive screws
- 30mm screws (check out our Universal Plug & Screw Set if you're not sure on sizes)
- Joist hangers
- Paintbrush
- Exterior wood treatment/preserver
How to Lay Decking on Concrete

Whether you hate the sight of your worn out old concrete patio or you just fancy a change, covering it with decking can really add to your garden’s look. Breaking up and removing concrete paving can be a nightmare, but don’t worry – that won’t be necessary with this approach. Here’s a quick, easy guide detailing how to lay decking on concrete:
Using your tape measure, measure the area you’d like to cover with decking. Remember, B&M’s boarding is 2.4 metres long, 120mm wide and 28mm thick – it can be cut to size, but make sure that all of your planning takes this into account. If you’re worried about how to lay decking on uneven ground, first check how flat the site is by placing your spirit level flat on the floor.
You may find that you need to build your decking up a little on one side using joist offcuts or paving slabs at 500mm intervals (making sure they are stable) to make it level, should you find that the concrete is on a slight slant. However, you should make sure that the outward facing edge of the decking sits around 2mm lower than the side closest to your house to allow rainwater to run off.
B&M Top Tip: If your decking will be against an external house wall, plan to build it so it lies at least 150mm below the damp proof course and that no grates or vents are obstructed.
Carefully cut the decking joists to size to create a square frame, and lay it out with the joists sitting lengthways on their narrowest faces.
Check the joists’ levels with your spirit level and the squareness of the corners with the set square, then mark two evenly spaced pilot holes at each corner, one 40mm up from the bottom and one 40mm down from the top, ensuring that your 150mm screws will enter the ends of the adjoining joists without breaking through the face of the wood. To be sure of this, take care to hold your drill as straight as possible as you drive them in.
Decide on the direction in which your decking boards or tiles will lie – horizontally, vertically, diagonally in chevrons or another design. Be sure that, whatever direction you decide, your joists are laid at the angle that will best support them. Your joists should be fitted into the frame with gaps of 400mm maximum between them. Draw a line at each 400mm point on both the inward and outward faces of the frame to help you later.
Cut to size as many joists as you need to lay inside the frame, then, using 30mm screws, screw two joist hangers firmly to either side of the end of each joist (taking care that the screws don’t meet in the middle and that the corners flare outwards to attach to the frame). It’s best to secure each hanger to lie 10mm or so up from the ground when you lay the interior joists. Lay the joists, ensuring that the marks you made every 400mm line up with the centre of each end.
Ensuring that the frame is completely square with each inner joist, and that the joins are horizontally and vertically flush where your boards will be laid, you can now measure and mark 40mm upwards from the bottom and downwards from the top of the top of each lines you drew at 400mm intervals on the external face of the frame. These are to be pilot holes.
Using your 8mm wood drill bit, drill through the pilot holes into the ends of the interior joists, making sure they remain square and straight and that you don’t break through the face of the wood.
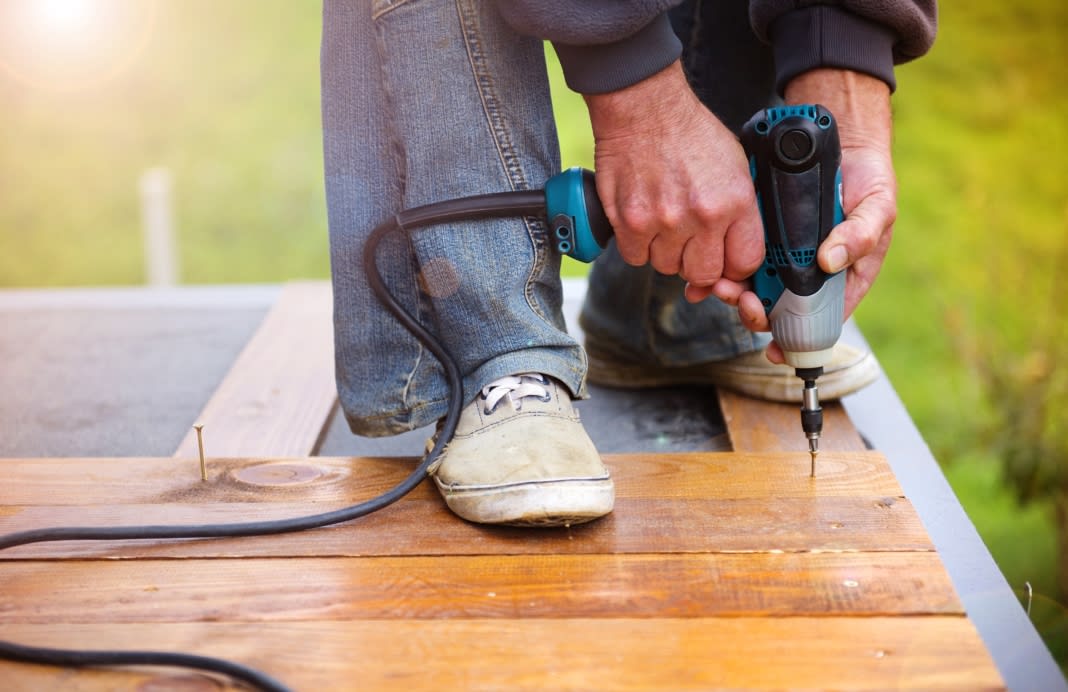
At the same points, drill with the countersink drill bit and then insert and screw 100mm screws into each hole.
Repeat this process with every joist, keeping everything square, level and flush throughout, then secure the joist hangers to the frame using more 30mm screws.
To make your decking extra secure and stable, the addition of wooden “noggins” or spacers between each joist is advisable. They should be planks measuring 400mm long to match the spaces between the joists, and should never lie more than 1,200mm apart.
Lay your noggins in place (on their narrowest face, like the joists), then measure and mark a pilot hole 40mm up from the bottom of each joist and 40mm down from the top, ensuring that the holes match up with the centre of the end of each noggin on the other side of the joist. Drill the holes through the marked points in the joint into the noggin’s end and secure with 100mm screws.
Repeat this process with all noggins, remembering that it’s best to stagger them so you can easily access each end through the relevant joists.
B&M Top Tip: Add extra noggins to frame obstacles like pipes.
Check that everything is level and correctly supported, then start laying out your decking boards. If you’re creating the decking against a house, start from the edge furthest away and work your wall towards the wall.
Measure out all the points where you’ll be drilling through the decking into the joists and pre-drill the holes with a 2mm bit to prevent splits. The holes should ideally go into the second groove of the board.
Use a countersinking bit around each drill hole to create a smooth surface that will be safer for people walking on the decking in bare feet or socks.
Be sure to screw through one hole into the first board at one end using a 64mm decking screw, then head to the other end of the frame and make any adjustments, carefully using that first screw as a pivot, to make sure the board is straight. Now screw that end into the joist at two points and return to the first end to secure it with a second screw.
Repeat the process with each board, leaving a gap of 5-8mm each time to allow for wood expansion and making sure you use two countersunk screws at each point where the joists support the board.
Your decking is finished! Finish it with suitable external wood treatment and enjoy spending time in the sun!
How to Lay Decking on Grass
Our tips detailing how to lay decking on grass follows the precise same steps as above. However, because there is no concrete on which to rest the joists, you must:
- First mark out the area with a square created from perfectly straight lengths of string secured around wooden or metal pegs driven into the ground in each corner.
- Dig down to around 50mm - making sure the ground level is even all around.
- Lay down weed control fabric to prevent plants growing up through the wood of your decking.
B&M Top Tip: covering this fabric with gravel will hold it down and help to stop weed growth further. You can also choose to lay down paving slabs to create a solid foundation for your decking.
How to Lay Decking on Soil
Follow the preparation steps we have laid out for building decking on grass, then follow the 23-step guide at the top for perfect results.
You should make sure that the ground you’re building on isn’t regularly very wet or boggy, or you may find the decking subsides or rots easy. If you’re laying onto soil that is very soft, it’s definitely a good idea to make sure that it is well compacted and to seriously consider laying paving slabs before getting started.
Laying Decking Against a Wall
Remember, if your decking is to be laid against a wall, it’s a very good idea to create a “wall plate” – a piece of decking joist cut to size to create a join between the main decking and the wall.
To do this: Measure the length of wall that will meet your decking and mark out where you will be placing the wood, allowing for 10mm expansion.
Top tip: Remember to take into account any obstacles like exterior piping, and mark them at suitable points into the joist you’ll be using as a wall plate.
Use your set square to make a straight pencil line widthways across the widest face of the joist, 100mm in from one end. Measure 50mm in from each edge and make a mark at both points along the first line you drew.
Make your way down the joist, doing the same thing every 600mm.
B&M Top Tip: Make sure that your final line lies 100mm in from the end for stability.
The points where you’ve marked 50mm in from the left and right hand edges are pilot holes. Drill a hole straight through each, then place the joists along the wall, making sure they’re straight and match up to the guide you drew.
Be sure to treat anywhere you’ve cut the wood, including the ends of the joist and the holes, with wood preserver to ensure that it does not rot.
At this point, you should use a masonry drill bit to drill directly through the pilot holes into the wall, then remove the wood and use the drill to complete the holes to the right depth.
Now insert your wall plugs into the masonry, and place the wood carefully back against the wall. You can now insert your 130mm screws into the pilot holes and add washers to the ends that will go into the wall.
B&M Top Tip: If you pack the space with washers 10mm deep, this will allow rainwater to successfully drain away.
Carefully lining them up against the plugs, twist the screws partway into the plugs by hand, then drive them into the wall using a screwdriver bit on your drill.
Don’t forget to share the finished results with the B&M Community via Twitter, Facebook or Instagram.


