Pumpkin Carving Made Easy: Halloween Fun for the Whole Family
23 October 2025
Whether you’re a Halloween enthusiast or someone who likes to keep your spooky season celebrations low-key, pumpkin carving is a beloved tradition and Halloween craft that the whole family can get involved in.
This Halloween, we’re showing you how to create your very own scarily good masterpiece, using tools and decorations from B&M.
Step 1: Picking the Perfect Pumpkin
Start by choosing your star of the show. Whether you’re looking for one big and bold, or cute and small, look for a pumpkin that is firm, evenly coloured, and sits flat so it won’t wobble or roll whilst you carve.
Try to store your pumpkin in a cool, dry, and dark place until you’re ready to carve.
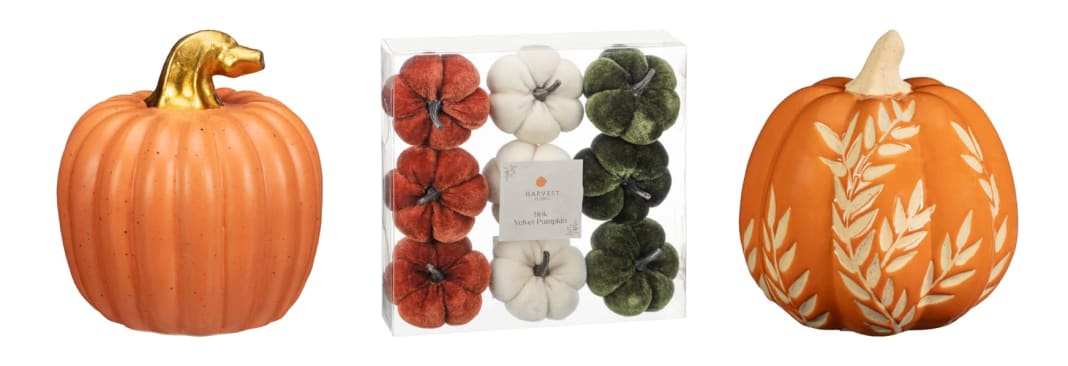
B&M Top Tip: You can find plenty of decorative faux pumpkins in a range of designs and colours to place alongside your carved pumpkin at B&M, perfect for creating a spectacularly spooky display!
Step 2: The Right Equipment
When you’re ready to get carving, all you need are a few household basics to create the perfect Jack-o’-Lantern.
You’ll need:
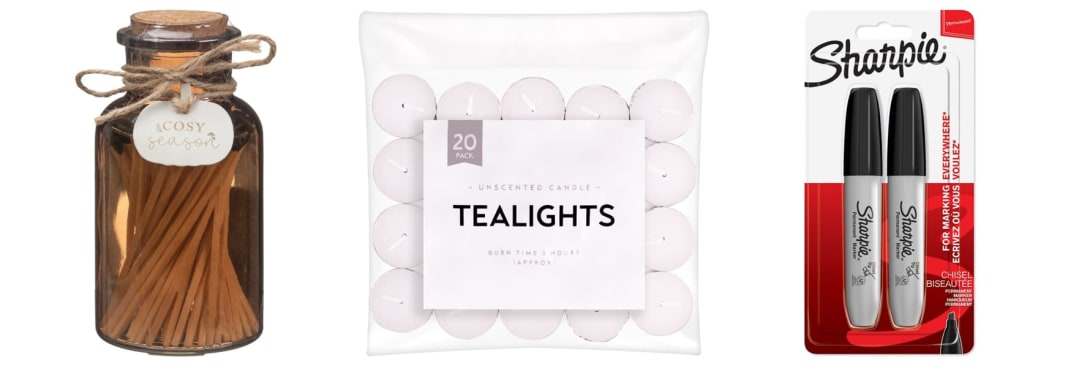
- Sharp Knives for carving
- Tealight Candles and Matches
- A Ladle for clearing out your pumpkin
- Permanent Markers to sketch your design
- A Large Bowl for your pumpkin guts
All available to purchase in-store at B&M.
Step 3: Scooping
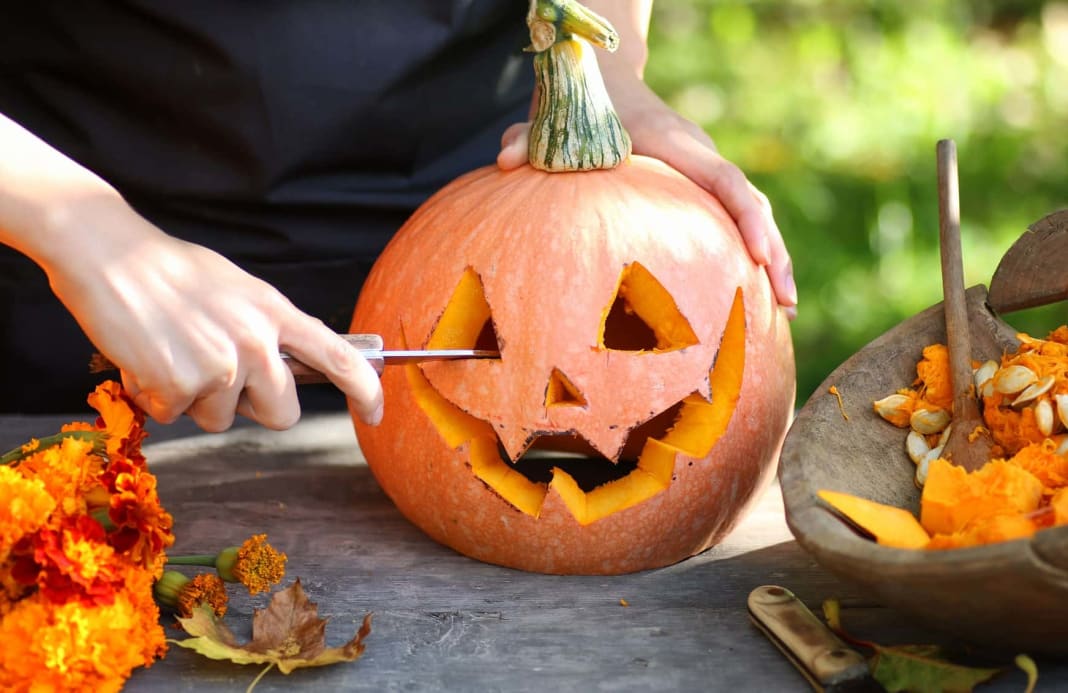
Cut a lid around the pumpkin’s stem, then roll up your sleeves and scoop out all of the seeds and pulp, hollowing out your pumpkin ready for designing.
B&M Top Tip: Don’t throw those seeds away! Pumpkin seeds can easily be roasted in the oven for a crunchy autumnal snack. The insides can also be used to create pumpkin pies, soups, and other delicious recipes.
Step 4: Sketch and Carve
Use your marker pen to sketch out your spooky design - Choose from classic grins, spooky ghouls, or even cute cat faces!
Next, carefully follow the lines you’ve drawn to cut out your design. Take care while cutting as pumpkin skin can be tough. Do not let children use sharp knives for their pumpkins.
B&M Top Tip: Get little hands involved in the fun by using cookie or pastry cutters to gently press into a hollowed out pumpkin to create perfectly shaped designs without the hassle of marker pens or knives.
Step 5: Show Off Your Spooktacular Pumpkin
Finally, grab a tealight candle and light using your matches or a lighter, carefully place inside your pumpkin to create the perfect autumnal glow!
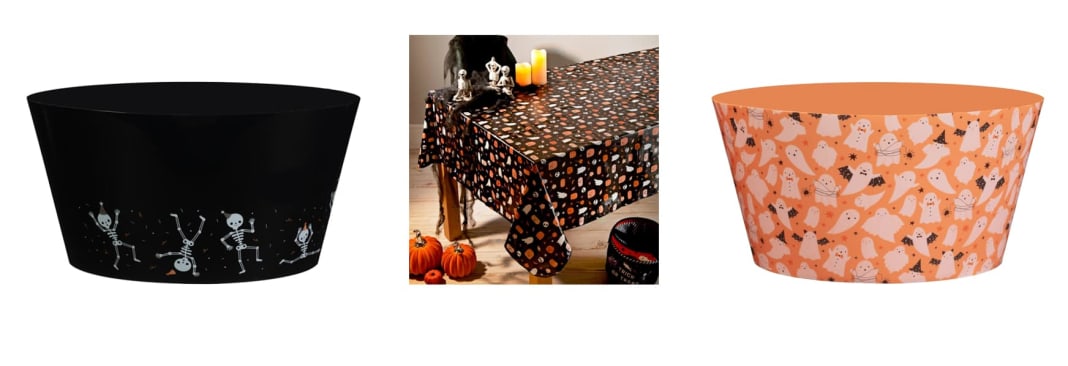
Place your terrifying creation in your front garden, a window, or as the main feature of your Halloween display. Complete the look by surrounding your pumpkin with Halloween Decorations like our Spooky Skeletons, Ghastly Ghosts, or our brilliant Faux Pumpkin Ornaments, all available to shop in-store at B&M.
With a little creativity and a few affordable supplies from B&M, you can carve the perfect pumpkin and make this Halloween one to remember!
Do you have a great pumpkin carving hack that never fails? Share it with the B&M Community via Twitter, Facebook or Instagram


